As AI-powered image generation becomes more integrated into architecture and interior design workflows, it’s no longer enough to simply generate images. You need to know which tool to use and when to use it. Whether you’re visualizing a fully modeled building or experimenting with a rough sketch, matching the right AI tool to the stage of your process can dramatically improve both speed and results.
In this post, we’ll walk through the three main AI function types in Planby Studio: Render Interior/Exterior, Virtual Renovation Mode, and Smart Blend/Partial Edits. We’ll explain when to use them, what they’re good at, and how much creative control they allow. We’ll also point out common mistakes to avoid, and compare each mode to Stable Diffusion’s ControlNet, giving you a clearer sense of how each model interprets your input.
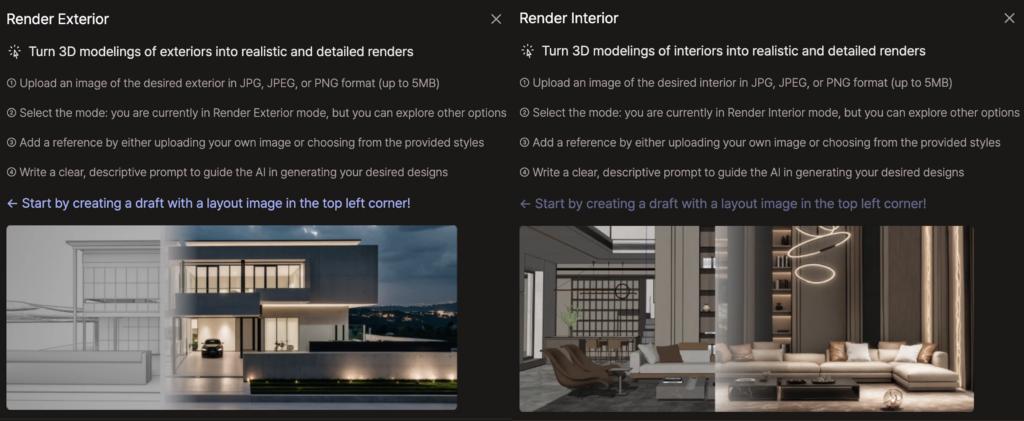
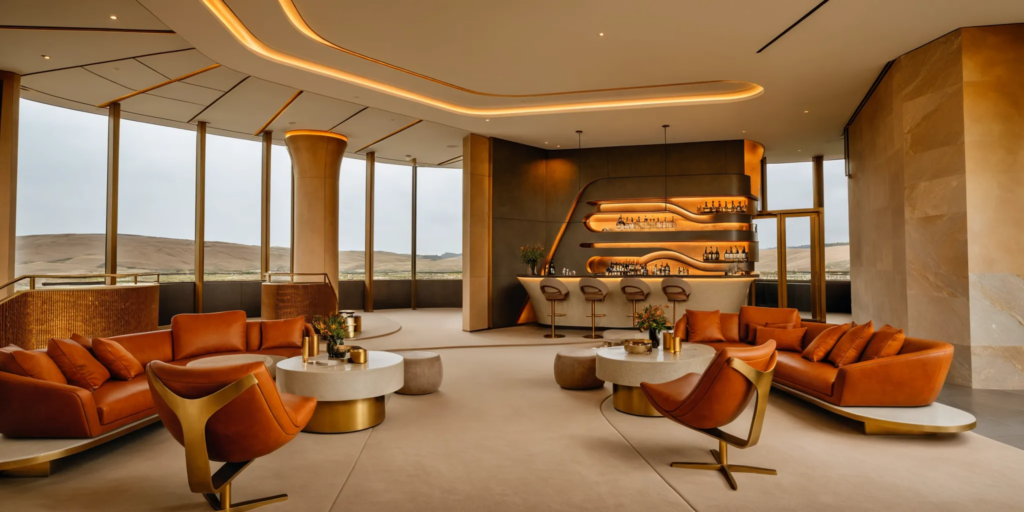
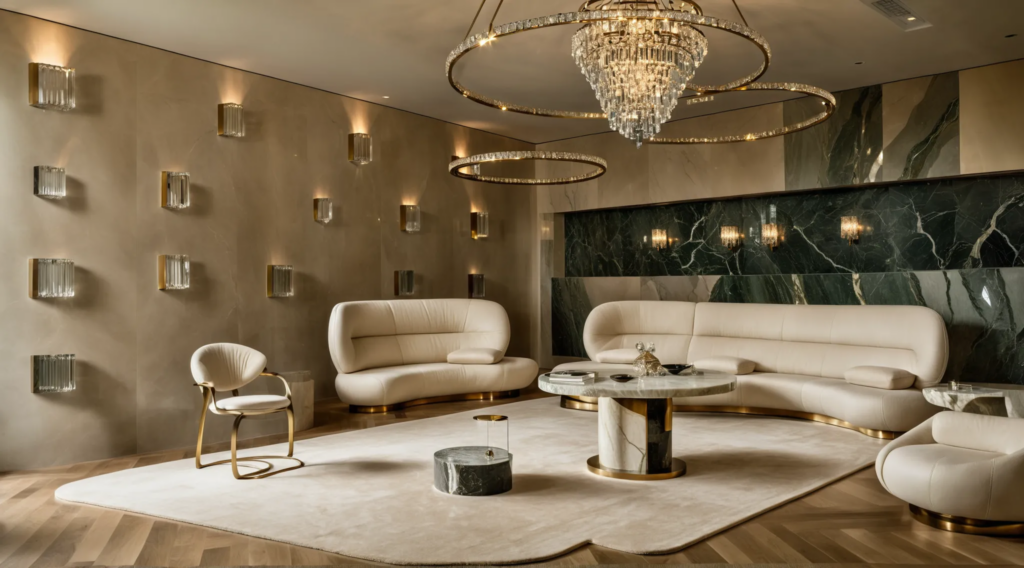
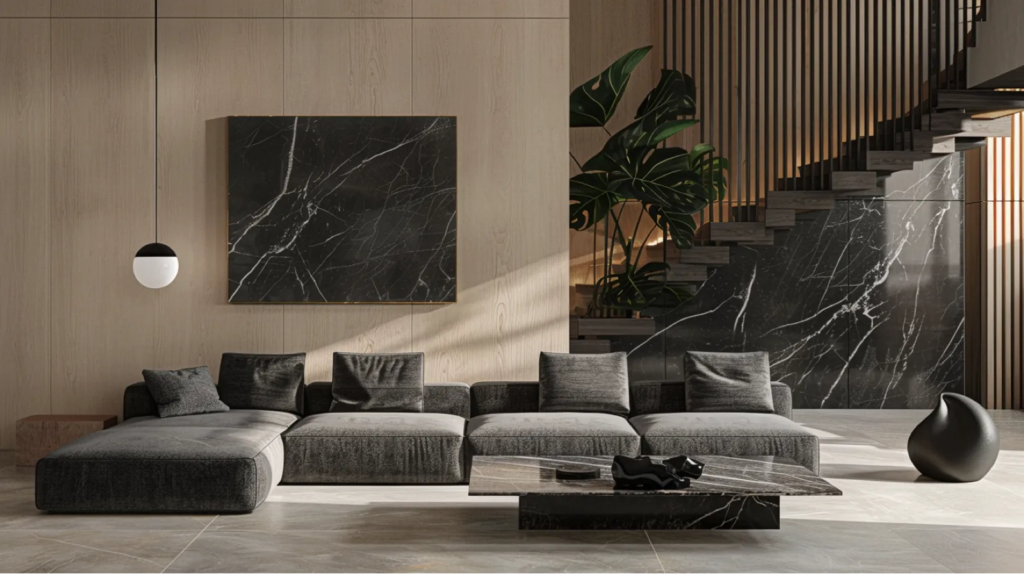
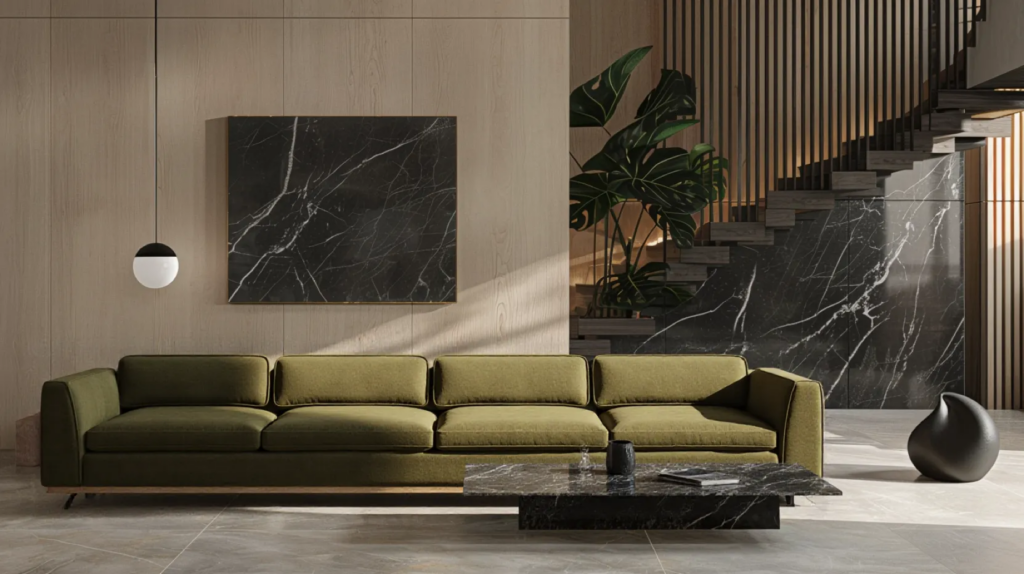
1. Render Exterior / Render Interior
Creative Freedom: Low (≈ ControlNet Weight 0.8)
Best For:
- High-precision presentation images
- Visuals based on complete architectural models
- Designs with finalized geometry, structure, and texture
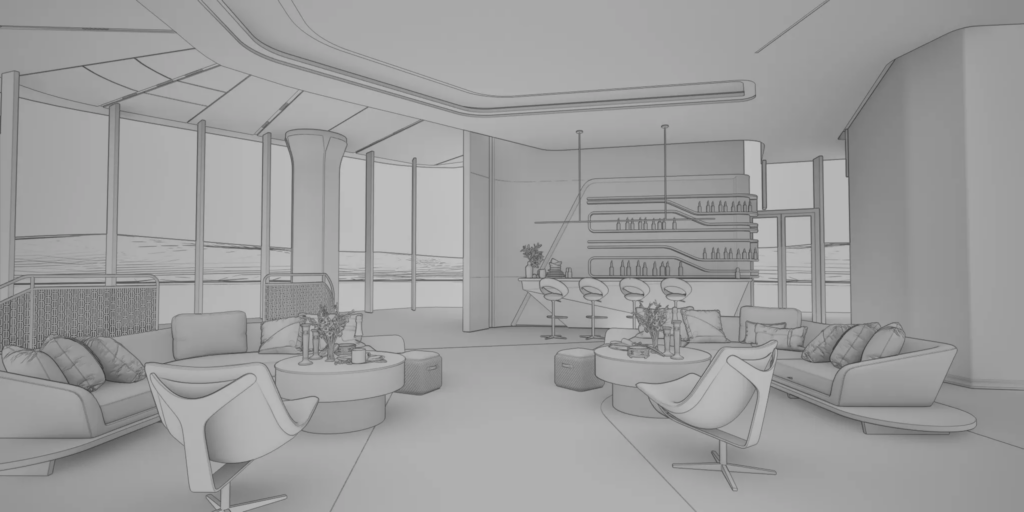
Render Mode is designed for precision. If you’re working with a detailed 3D model from Revit, Rhino, or SketchUp, this is the tool that will translate your vision into a polished, photorealistic output. It’s best used when accuracy matters more than exploration.
Strengths:
- High visual realism and resolution
- Closely follows the 3D input
- Reliable and consistent results
- Ideal for client-facing visuals or portfolio-ready renders
Creative Limits:
- Very little stylistic deviation from the input
- Doesn’t perform well with vague, incomplete, or abstract geometry
- Limited flexibility — prompts cannot override form or perspective
Common Mistakes:
- Using with low-detail or untextured models
- Expecting dramatic visual changes based on text prompts alone
How It Compares to Stable Diffusion:
This tool works like applying a high ControlNet weight on Stable Diffusion. The AI sticks closely to your input, making only subtle enhancements. It’s ideal when control is more important than creative interpretation.
2. Virtual Renovation Mode

Creative Freedom: High (≈ ControlNet Weight 0.3)
Best For:
- Early-stage design ideation
- Spatial concepts and visual drafts
- Generating quick stylistic variations or mood concepts
Virtual Renovation Mode allows the AI to reinterpret your input more freely. If you’re experimenting with broad design directions, this is where you start. It works particularly well when your inputs are loose, and you’re looking for new possibilities rather than polished output.

Strengths:
- Highly flexible and interpretive
- Works with low-detail models or even partial geometry
- Great for conceptual visualization and prototyping
Creative Limits:
- Less predictable results
- Outputs may stray from functional or dimensional constraints
- Not ideal for precise client-ready renders
Common Mistakes:
- Using it when a realistic final render is needed
- Feeding it detailed models and expecting it to preserve precision
- Expecting exact consistency across multiple generations
How It Compares to Stable Diffusion:
This tool works like applying a low ControlNet weight. The AI uses your input as a rough guide and makes broad, creative decisions. It’s perfect for exploring early concepts and stylistic variations.
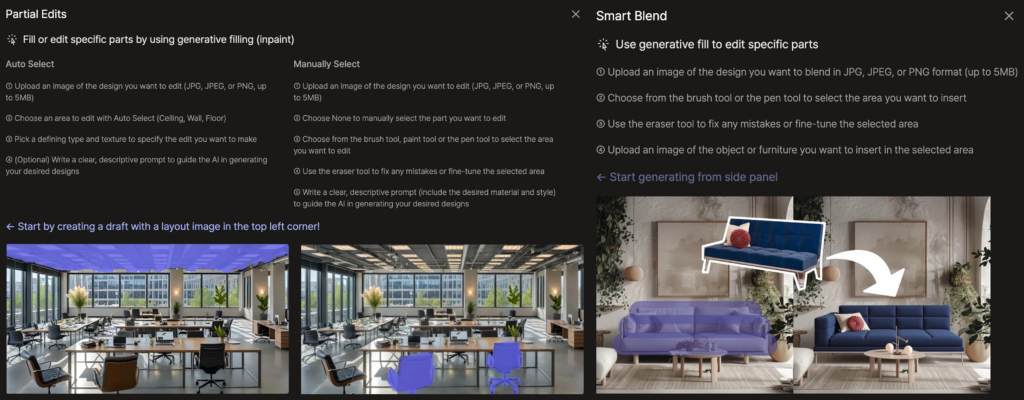
3. Smart Blend / Partial Edits
Creative Freedom: High (≈ Denoise Strength 1.0)
Best For:
- Making specific edits without changing the entire image
- Swapping furniture, lighting, or decor
- Modifying material finishes or backgrounds
- A/B testing visual changes
Smart Blend allows you to edit specific areas of a render while keeping the rest of the image intact. It’s an efficient tool for fine-tuning without restarting the generation process. Simply select the region you want to modify and describe the change; the model handles the rest.
Strengths:
- Maintains context and composition
- Seamless transitions between original and edited areas
- Allows adaptive editing with fast turnaround
Creative Limits:
- Limited to localized areas (not suitable for full-scene changes)
- Can produce mismatched lighting or perspective if prompts aren’t precise
- Best used on relatively clean, high-quality input images
Common Mistakes:
- Attempting to regenerate the whole image through partial edits
- Selecting overly large or complex regions for revision
- Using vague prompts without spatial context
How It Compares to Stable Diffusion:
These function similarly to inpainting or masked editing. Only the selected region is regenerated. The AI blends new content into the existing image with natural transitions, making it ideal for iterative workflows.
Table Summarizing each models’ characteristics, recommended situations and how they compare to Stable Diffusion
| Model | Recommended For | Creative Freedom | Comparable ControlNet Weight | Output Style |
| Render Exterior / Interior | Finished 3D models | Low | ~0.8 | Accurate, realistic, input-driven |
| Virtual Renovation | Sketches or early design ideas | High | ~0.3 | Creative interpretation, conceptual |
| Smart Blend / Partial Edit | Editing specific parts of images | High | N/A (Inpainting-style) | Specific edits with natural transitions |
Flexibility by Design: Use the Tools in Any Order
While each AI model in Planby Studio has a clear purpose, they’re not locked into a fixed sequence. Our tools are designed to be intuitive and flexible, so you can use them in the order that best fits your workflow.

Some projects may start with a rough sketch and evolve through rendering modes, followed by Virtual Renovation or Partial Edits for a polished final image. Others might begin with a fully developed render and use Smart Blend later for small iterations or localized changes.
There’s no one-size-fits-all path, and that’s intentional.
Each tool is made to support different types of thinking: exploration, refinement, presentation, or editing. You’re free to enter the process at any point, switch directions, or use tools independently to achieve your specific creative goals.
Final Thoughts
Choosing the right tool in Planby Studio isn’t just about your current input; it’s about what kind of output you need next. Use Render Interior/Exterior when you’re ready for presentation-level quality. Switch to Virtual Renovation when you’re exploring big ideas or mood concepts. And turn to Smart Blend when it’s time to polish details without starting over.
Understanding the strengths and limits of each model is key to working faster, producing better results, and unlocking the full potential of AI-assisted design. Now that you know what each tool is for, you can stop guessing and start creating with intent.